How to create an Azure DevOps pipeline using YAML
Introduction
In this blog we look at how to create a Cypress pipeline in Azure DevOps (ADO) to execute our test cases and produce results. In our training course we look at creating a simple pipeline in ADO using the classic editor:
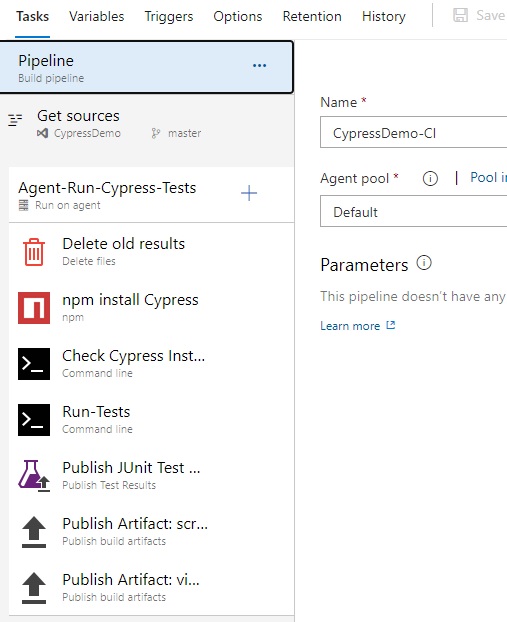
The last two steps in this simple pipeline publish the videos & screenshots from Cypress as pipeline artifacts. This works fine, BUT we really only want the Videos & Screenshots published if any of our tests fail (not if they all pass). So using a YAML pipeline we can add some conditional logic to check this.
Also, using YAML, the YAML file gets stored in the Repository alongside our code, in version control and available to everyone.
Setting Up Cypress
ADO recognizes JUnit test results, and Cypress comes with a JUnit reporter built-in. We need to enable this, so as well as out usual Cypress results we will also get a JUnit format XML results file.
To enable this, we need to open our cypress.json config file within our project and add the JUnit reporter option:
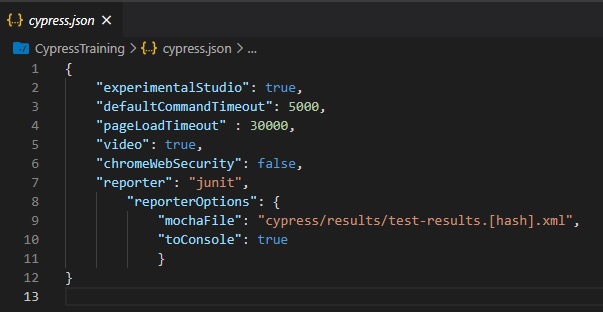
It is just lines 7 to 11 we are interested in. This will output a JUnit file to a folder I’ve called /results you can specify a different folder if you wish.
You can see that for the filename we have /test-results.[hash].xml The [hash] gets replace by a random unique value automatically. This is important, as each Spec creates a results file, and if we had a static filename, the same file would just get overwritten every time!
We will use an option in ADO to merge all the JUnit results files for us.
ADO Pipeline
So I am assuming you have your Cypress project in the ADO Project repository (or could be GitHub/GitLab, but you will need to amend the YAML appropriately). In my example it is in the ADO project repo.
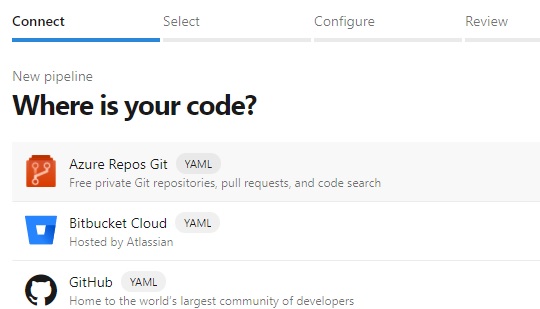
So click on Pipelines and New Pipeline. Choose your source repository (mine is in the ADO project repo)
Now choose Node.JS as a YAML template pipeline:
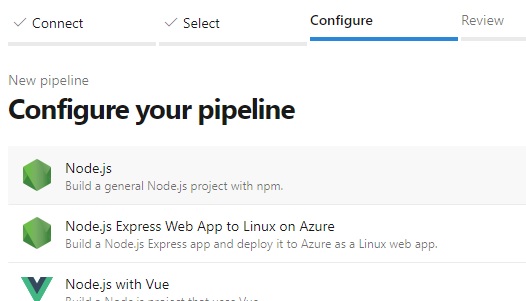
Now we have our basic YAML file, we can overwrite this with our Cypress YAML pipeline:
# Install & Run a suite of Cypress tests
# Only publish videos & screenshots if a test failed
# Tom Millichamp, Edgewords, 2021

trigger:
- main

jobs:
- job: Job_1
  displayName: Pre-reqs
  pool:
    name: Default
  steps:
  - checkout: self
  - task: DeleteFiles@1
    displayName: Delete old results
    inputs:
      SourceFolder: $(System.DefaultWorkingDirectory)/cypress/results/
      Contents: '*.*'
  - task: Npm@1
    displayName: npm install
    inputs:
      verbose: false
  - task: CmdLine@2
    displayName: Check Cypress Installed
    inputs:
      script: >
        npx cypress verify


- job: Job_2
  dependsOn: Job_1
  condition: succeeded()
  displayName: Run-Cypress-Tests
  pool:
    name: Default
  steps:
  - checkout: none
  - task: CmdLine@2
    displayName: Run-Tests
    continueOnError: True
    inputs:
      workingDirectory: $(System.DefaultWorkingDirectory)
      script: npm run record
  - task: PublishTestResults@2
    displayName: Publish JUnit Test Results
    condition: succeededOrFailed()
    inputs:
      testResultsFiles: '*.xml'
      searchFolder: $(System.DefaultWorkingDirectory)/cypress/results
      mergeTestResults: true
      testRunTitle: Cypress Test Results


- job: Job_3
  dependsOn: Job_2
  condition: eq(dependencies.Job_2.result,'SucceededWithIssues')
  displayName: Publish-Screens-on-Fail
  pool:
    name: Default
  steps:
  - checkout: none
  - task: PublishBuildArtifacts@1
    displayName: 'Publish Artifact: screenshots'
    condition: succeededOrFailed()
    continueOnError: True
    inputs:
      PathtoPublish: $(System.DefaultWorkingDirectory)/cypress/screenshots
      ArtifactName: screenshots
  - task: PublishBuildArtifacts@1
    displayName: 'Publish Artifact: videos'
    condition: succeededOrFailed()
    continueOnError: True
    inputs:
      PathtoPublish: $(System.DefaultWorkingDirectory)/cypress/videos
      ArtifactName: video
- Prerequisites – this job clears out any previous results from the /results folder. It then installs Cypress and any other dependencies specified in your package-lock.json file. Finally it runs npx cypress verify this is just a sanity check to make sure Cypress is installed and ready to go.
- Run-Cypress-Tests – this job runs the Cypress Tests. It is set to be dependent on the first job succeeding. Here I am using a command line action to execute npm run record This is an npm alias I set up in my package.json. As you can see, it just calls npx cypress run with some options including the key to publish to my Cypress.io dashboard. So you add whatever CLI options you like in here, such as the browser, folders to run etc. The last part of this job publishes the JUnit results in ADO – this will then show us test results in ADO. Importantly we have mergeTestResults: true this option merges all the JUnit results files into one set of results in ADO.
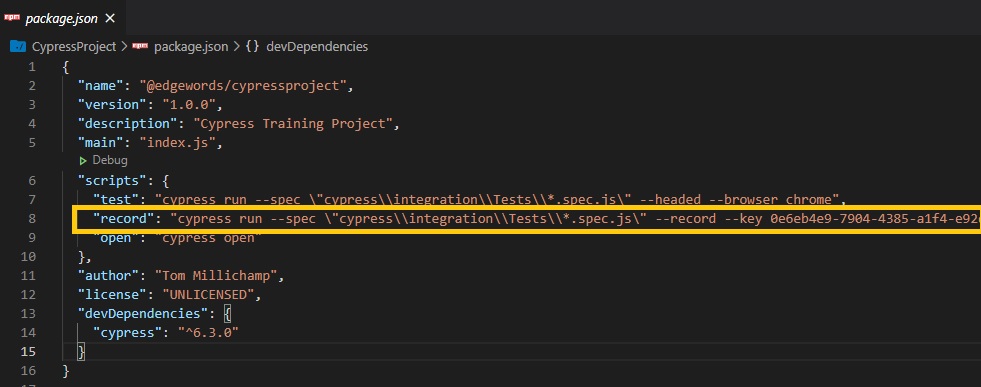
- Publish-Screens-on-Fail – This last job, depends on the run tests job, but will only execute if the run job had failed tests. condition: eq(dependencies.Job_2.result,’SucceededWithIssues’). This publishes the videos and screenshots from the Cypress results back to ADO, but only on test failures.
OK, so that is the YAML example. You may well want to change the trigger (currently any new commits to the main branch), and the agent pool.
Also you may wish to add steps such as installing NodeJS. I didn’t need this as my agent machine already has NodeJS installed.
Finally you may wish to change your npm command in your package.json file to suit. But hopefully you now have enough of an example to get you going.
Results
After the pipeline has run, click the Tests tab:

If you have failed tests, you can check the videos and screenshots in the artifact link:

Click the ‘published’ link as highlighted above:
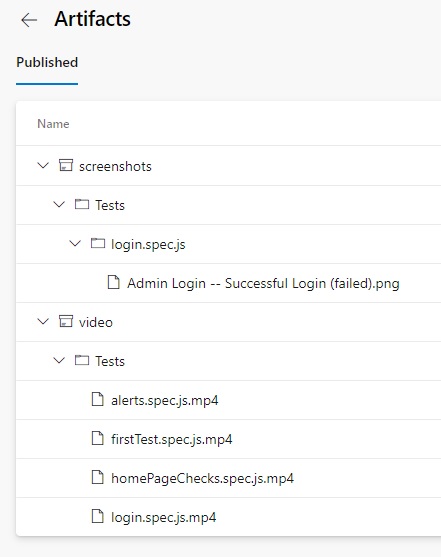
Job Done!
Edgewords has comprehensive Cypress training available, speak to us about training your team, contact tom.millichamp@edgewords.co.uk or phone +44 (0)333 939 8884
